Recent Posts

Friday, October 29, 2010

Umbu Lumiere


Love these lamps by Umbu! 

Thursday, October 28, 2010

Book Projects

After making the paper wreath, I've been on the lookout for more book projects. Here are some fun ones!

This table centerpiece from Style Me Pretty is stunning, simple, and inexpensive!


A hollow book safe is Nancy Drew chic. Make your own, or buy one like this from conduit press.

 This gorgeous installation (by Cath of California via simplesong) would be easy to recreate with some styrofoam balls and a circle punch.

 If you find your book collection is stacking up around you, turn those piles into a table or fort!

(I've lost the original sites of these last 2 images, if you know who they belong too, please leave a comment so I can give the proper credit.)

Wednesday, October 27, 2010

Rabbit Love

Loving these gorgeous printed plates by The Storybook Rabbit!


Tuesday, October 26, 2010

Europe

I have just returned from a whirlwind European adventure... 2 weeks in London, Sweden, Switzerland, and Paris. It was utterly amazing and I have so much to share, but first I need a shower and some sleep.

I have a billion photos to unload and edit, so for now I'll leave you with this low-res shot (House of Parliament in London.)

Monday, October 25, 2010

Weekend Glimpse


I hope you had a good weekend, I sure did. ;-D

Friday, October 22, 2010

Favorite Personal Blogs

Mollie Greene writes about her family, her work, and the passing of time. She makes everything sound fascinating.

Annamaria Horner isn't someone I know personally, but I've been reading her blog so long, I feel like I do. She writes about her gorgeous fabric and her delicious children.

Wishful Thinking is by sweet Christin, and she posts about her projects and things that inspire her.

Thursday, October 21, 2010

Favorite Craft Blogs

How About Orange is a fount of all things crafty. Jessica is a fabric designer, but in addition to posting textile related projects, she features down-loadable freebies, design quizzes, and great how-to's.

Oh Happy Day features a lot of party-related inspiration, included some of the coolest invitation ideas I've ever seen.

At the Art of Doing Stuff, Karen will teach you how to do everything from make a soap dispenser out of a vintage soda bottle to darning a sock.

Wednesday, October 20, 2010

Favorite Wedding Blogs

Style Me Pretty is the ultimate in eye candy. Amazing weddings posted everyday, and marvelous galleries for inspiration from dresses to centerpieces.

Snippet & Ink is the queen of inspiration boards, she has one for every theme imaginable.

Something Old, Something New features mainly wedding fashion. She finds the most gorgeous dresses!

Tuesday, October 19, 2010

Favorite Food Blogs

Dessert for Breakfast showcases unique recipes with stunning photography.

Cheeky Kitchen has "recipes with personality." Written by the vivacious Brooke, everything from sweet to savory will be sure to delight.

Tartlette is written by a French woman living in Charleston. Her recipes are often gluten free and always beautiful.

Monday, October 18, 2010

Favorite Design Blogs

Thanks to the ease of Google Reader, I subscribe to almost 70 blogs. This week, I want to share a few of my favorite reads with you.

To start us off, here are some of my favorite design blogs...

Making it Lovely is run by Nicole Balch, who is a designer, mom, and DIY-er. She posts mainly about interior design, and creates lovely room boards as seen above.

 Desire to inspire features gorgeous spaces from a myriad of styles. The reader request section answers a subscriber's question with a flood of inspirational images.

{this is glamorous} is exactly that. Gorgeous photos of everything from furniture to fashion.

Friday, October 15, 2010

Rainy Autumn Outfit

Now that it's finally starting to feel like fall, I'm in the mood for some good drizzly weather. I'd love to step out in this ensemble!

Leopard Fur Coat from Top Shop, $190
Black Frilly Frou Frou Umbrella from Raw Space, $59
Gold Wellington Boots from Uttings Outdoors, $65
Wool Shimmer Scarf from Banana Republic, $59
Betsy Johnson Satin Clutch from Zappos, $132

Thursday, October 14, 2010

Dreamy Rooms

I'm in love with these rooms. Each space is one that I'd feel right at home in... here's to hoping someday I'll have a place that's similar!

This Domino room is a classic, one that I've been dreaming of for a while.

This space from Annie Corley is calling my name. That gilded sette? Yes, please!

Brad Duffton's fireplace is the crowning glory of this cozy space.

Butterflies galore in another Domino gem, via style carrot.

Wednesday, October 13, 2010

A Night for Adoption

Some friends, Matthew Smith and his wife Amy, are in the process of adopting a child. As you probably know, that road is a long and expensive one. To raise money and celebrate their future child, Matthew and Amy are hosting an adoption fundraiser. "A Night for Adoption" will be held in Greenville, SC at the the marvelous Soby's loft. There will be live music, great food, and some awesome items in a silent auction. One of them is pictured above, a beautiful original watercolor by Cory. Support a great cause, and get sweet art... you know you want to!

Friday, October 22 from 8 - 10 pm
Soby's Loft in downtown Greenville

If you're interested in attending, please get your tickets now! If you can't make it but would still like to show the Smith's some love, I know they'd appreciate it.

Tuesday, October 12, 2010

DIY Paper Wreath

Check it out! The wreath project I've mention is finally done. I made this wreath for a friend as a housewarming present, and it's now hanging on her lovely walls.

The wreath is made using pages from old books, a wreath form, and a whole lot of hot glue... not to mention several hours of time. It's very simple to do, see the DIY instructions.

Tips:
- Unless you want to invest 12+ hours, use the wreath size recommended. I used a 24" form, and this made my wreath turn out kinda gigantic (luckily it still fits perfectly in its new home).


- Use a few different books for varied page color and text size. I got my books from Goodwill, so I didn't have to feel bad about tearing up some classic literature. I did also mix in one book from the dollar store... if you use a new book, don't skip the painting of the edges, it really helps them stand out once rolled.


- Have a cup of cold water out to dip your fingers in when you burn them on the hot glue. Because it will happen. About every 30 seconds.

- Don't fret about getting your rolling technique perfect, experiment a few times until you get the hang of it. I found it was best to roll my page how I wanted, hot glue it to make it stay as formed, and then attach it to the wreath.

This is a super easy project with stunning results, and perfect to do while sitting on the couch watching a movie. I think a pair of these wreaths would look gorgeous hanging on the doors of a wedding chapel!

Thanks to Lindsay for the DIY instructions!

Monday, October 11, 2010

Weekend Glimpse

 Some mending. I love seeing all the little stitches in a perfect row,
it's so satisfying.

Dinner at Annie's house.
Asian dumplings, I could eat you forever.

Have you made these? They will change your life, they are that good.
Did you notice my lovely Le Creuset skillet? 
I scored this beauty for $21! (reg. $160)

Not pictured:
- mountains of laundry. A whole mountain range, actually.
- Army & Navy store
- Beauty & the Beast!
- Indie Craft Parade 2011 planning
- cheese dip

Friday, October 8, 2010

Wishlist

Here's what I've been wishing for of late...

Sleek and silkscreened... mmmm.

I have an obsession with pretty paper napkins. 
It's kind of a problem.

Ceramic Spools by Mara Skujeniece via decor8, $52 - $195
I'll take them all, thank you very much!

Thursday, October 7, 2010

Wrap it up, Cupcake!

How darling are these DIY cupcake wrappers? I love the flair and elegance they add. Next time I make cupcakes for a party, I'm definitely trying one of these.

Make the paper doily version from Intimate Weddings. I'd love to do this with silver or gold doilies!

Make the paper version from Snow & Graham, using wrapping paper or scrapbook sheets. This would be fun to do with coordinating patterns and colors.

Wednesday, October 6, 2010

Rainbow Cake: Recipe + How-to

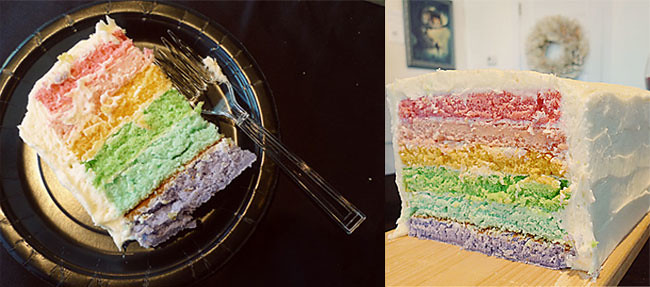
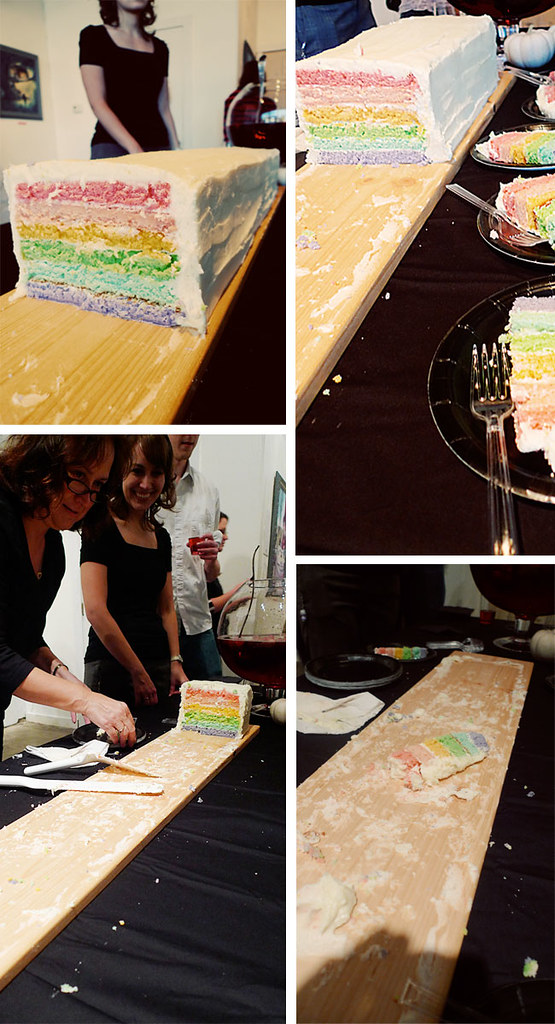
The rainbow cake for the show was officially a hit! 6 inches wide, 6 inches high, and about 40 inches long... that's a lot of cake. It fed about 200 people. Here it is gradually disappearing...


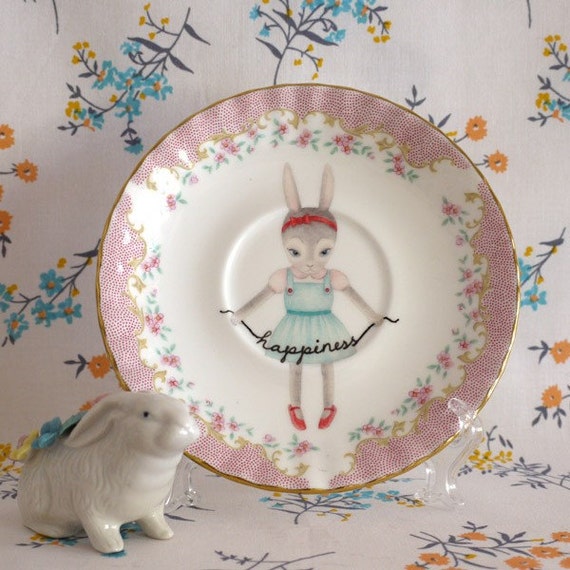
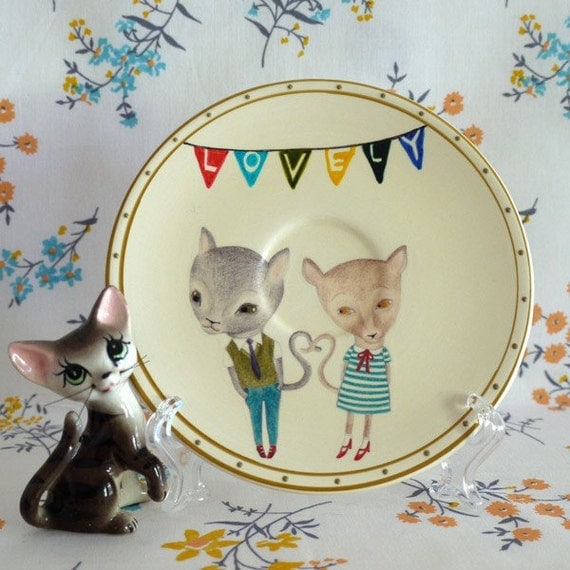
Apparently it was plate-lickin' good.


So you want to make it too? Well, get ready for some work...


The recipe I used was for a pound cake. This worked well because it's a dense and heavy cake, able to support such gigantic proportions. If you have a recipe you'd rather use, go for it, you can still follow my basic proceedure.

Sour Cream Pound Cake

1 c. sour cream

1/4 tsp. baking soda
2 sticks unsalted butter, softened
3 c. sugar
1 tsp. vanilla
6 eggs
3 c. flour

In a small bowl, combine sour cream and baking soda, mix well and set aside. In a large bowl, cream butter, sugar and vanilla. Beat in sour cream mixture. Add 2 eggs alternately with 1 c. flour, repeat 2 more times. If desired, tint with food coloring. Pour into a greased and floured pan, with the bottom lined with parchment paper. Bake at 325 degrees.


Baking times will vary based on the pan you are using. I made my layers in cookie sheet / jelly roll pans, and they took about 25 minutes to test done. Deeper pans may take up to an hour, but the cake is done when you insert a toothpick and it comes out clean.

1. I used Wilton gel food coloring to tint my batter. I made 6 layers, so 6 batches, and 6 different colors. Make as many batches of cake as necessary to complete the size cake you desire.

2. Make sure you grease and flour well, and don't forget the parchment paper. Once the cake comes out of the oven let it cool for about 10-15 minutes. Run a knife along the edge to loosen. Lay a sheet of wax paper over the cake top, then gently flip over. I flipped mine out onto vinyl placemats, it was the only thing I had that was large enough. If the cake is sticking a little, tap on the pan, and try prying a knife at the corners. Let cool completely.

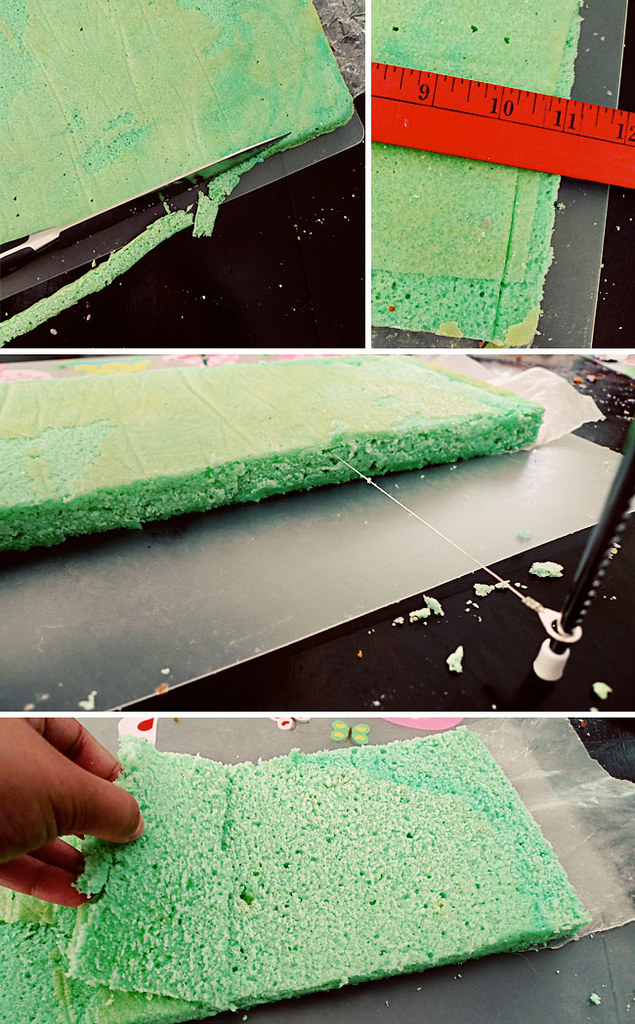
3. Once all your layers have been baked and cooled, it's time to prep the layers. First, trim all the edges so you have a nice crisp edge.


4. If you're making a long rectangle cake like me, you'll need to trim the layers down to size. 1 jelly roll pan makes 2 long rectangle sections, so 2 cake blocks. I made the layers using 3 different pans, so I had to trim them all to a standard size. For me, that was 5.25" x 18". Use that wax paper under the cake to carefully separate and transfer the layers (give it a good run with a knife, and it will tear perfectly to separate).

5. You must level the layers. If you skip this step, your cake will be slanted and lack good even edges. Using a gentle slicing motion, slide the leveler through the cake at a height that will work for all the layers. If you don't want to spend $2 on a cake leveler, you can use a serrated knife, I'm just not able to get it perfectly even that way. Once you've sliced through the top of the layer, just fold back the cut portion and remove. 
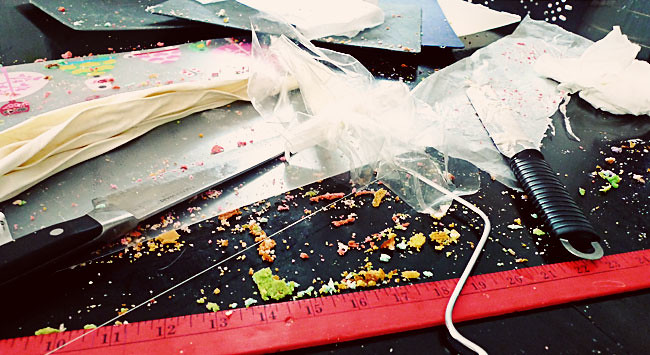
Warning: By this point, there will be cake crumbs everywhere. You'll just have to deal with, it's going to get worse before it gets better.

6. Once you've prepped all the layers, you can begin assembling. You'll need plenty of frosting, I used 2 batches of Best Buttercream. Begin by setting your first layer down on a large flat surface, for me, a placemat.


7. Spread a thin layer of frosting on top of the cake. I didn't want thick layers of frosting in between all the layers, so this thin layer just acts as glue, holding the next layer in place.

8. Carefully set the next layer on top. I found the best method to transfer the unwieldy pieces was to stand it on on it's side, then flip onto the top. If you can any cracks, do not fear. There's enough cake surrounding it to hold it together. I even had one break in half, but it held together fine with a little frosting. Continue with the thin layers of frosting and cake layers until you are done.

9. Now that you're all stacked, it's time to crumb-coat. Apply a thin layer of frosting all over the exposed surfaces of the cake. This seals in the cake and the crumbs so that you can apply the final frosting with ease.

10. If you're making a long rectangle cake like me, you have to repeat the layering and frosting process for your second cake block. Once everything is done and crumbcoated, stick it in the freezer for 2 hours. This will set the frosting and firm up the cake layers so you can handle and/or transport it.

11. Place the cake on your desired serving platter. For the long cake I made, I used piece of untreated pine, cut to 1"x 6" x 42", sanded, and sealed with butcher block wax. I placed my 2 cake blocks end to end on the board to form one continuous cake.

12.  Frost away! My long cake took about 6 batches of Best Buttercream.


Enjoy! Watch for the look of delight when you cut into the cake and the rainbow is revealed, people will go nuts for it. Enjoy the glory and try to forget that your kitchen looks like this: