Recent Posts

Thursday, July 8, 2010

Fresh Salsa

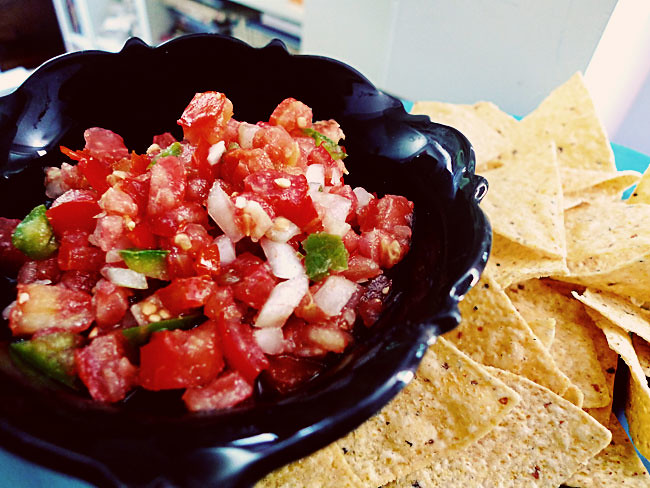
During the summer, fresh salsa is a staple in our house. It's practically it's own food group. Nothing beats picking tomatoes, peppers, and onions from the garden, and chopping them up while they are still warm from the sun. This simple recipe is from my mom, and it becomes a fast favorite of everyone who gets a taste.

Fresh Salsa

4 c. diced tomatoes
1/2 c. diced onion
1 tsp. minced garlic
1-4 jalapenos, minced
1 T. olive oil
1 T. vinegar
1 tsp. cumin
1 tsp. salt

Drain juices off tomatoes, place in medium-sized bowl. Add onions and garlic. For the jalapenos, add them in small amounts until you reach the desired level of spiciness (start small and remove the seeds if you prefer things on the milder side). Add oil, vinegar, cumin, and salt. Stir well to combine. Taste, and adjust seasonings and peppers as needed. Store in an airtight container, refrigerated.

Notes:
- I normally use purple onion because it's pretty (I ran out when I made the batch I photographed)
- Be careful with the jalapenos! They are tricky because they often vary greatly with their level of spiciness. I usually start with one, and add more if necessary. The last few I've used have been extremely potent... only needing about a half of a pepper to reach the right level of spicy for me. Other times I've needed the full 4 peppers.
- Add whatever else you feel like! This time I threw in some sweet banana pepper and some green pepper (more for color, I was only using a tiny bit of jalapeno, so I needed more green).
-  When taste-testing, use a tortilla chip. This will help you correctly gauge the overall saltiness.
- This recipe is not suitable for canning, it doesn't have enough acidity to preserve correctly.
- When in doubt, make a double batch! I almost always do.

I am not a kitchen gadget person. I don't even use a garlic press (my mini food processor is way easier and just as simple to clean). They take up too much room in my already cramped kitchen, are one more thing to wash, and often make a task more complicated. But for making fresh salsa, there is one gadget I've made room for: The Vidalia Chop Wizard.

I know what you're thinking, another one of those silly as-seen-on-tv products. Well, this one actually works. My mom uses it for making salsa, and gave me one too so my life could be easier. All I have to do is cut my tomatoes and onions in half, place them on the cutter, press down, and presto! Perfect little chunks. It comes with 2 cutting screens, one for dices and one for minces. It does take a little muscle power to cut through tougher items like onion, but nothing difficult. With all the salsa I make, this little guy will probably save me about 3000 hours in my lifetime. Not bad for one easy payment of $19.95!

I realize this sounds like a paid advertisement. I assure you it is not, just a plug for a good product.

Happy salsa making!

Wednesday, July 7, 2010

Cake Philosophy + Leah Rosenberg

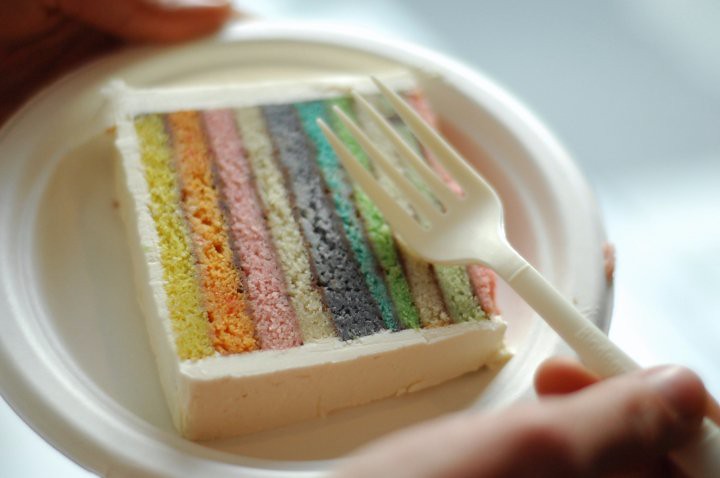
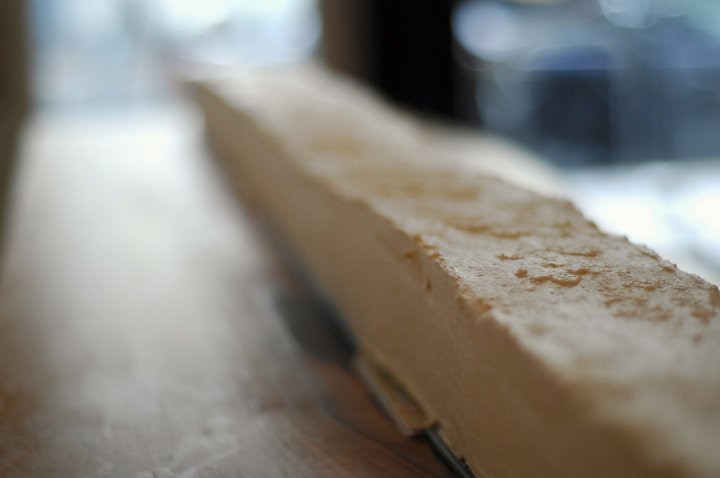
Look at this cake. Look at this cake! I have been staring at this for the past 2 days, ever since it popped up on Oh Happy Day. I am in awe of it.

This cake was made for Leah Rosenberg's "Time Will Tell" exhibition. I believe that Leah herself made the cake, as that seems to be her thing. Listen to what she says about cakes:

"A cake to me is a work of art with the intention of generosity. It is beautiful, it is structural, it is an evocative work of color and balance. And then people eat it. They consume it. They find it too sweet or too sticky or too vanilla-y. And then they move on.  This is the generosity of art. Create with intention and then, set it free."

I love this. I can relate to this. While I can't draw or paint, entertaining and cooking for me is my form of art, and I love to share it. I'm so glad Leah was able to put it into words.

Also, Leah's artwork is just perfect, I love the sweetness and abandon.

I had been wracking my brain, trying to come up with an excuse to make such a cake, and finally it came to me... Cory will be showing his new series of work from Alice in Wonderland this fall, and this trippy rainbow infused cake will be perfect for the openings.

I can hardly wait! 

Tuesday, July 6, 2010

ICP Featured Artist: foundling

Our featured Indie Craft Parade artist of the week is the marvelous foundling!
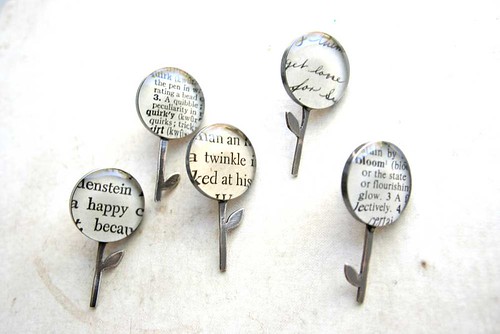
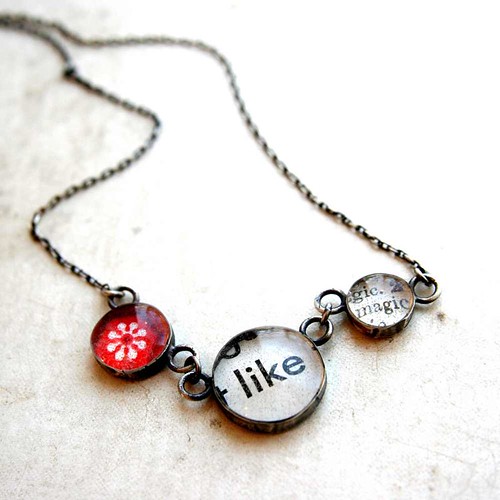
foundling is a a place where gorgeous jewelry is born, a place of "new things made from old things." These "wearable conversation pieces" are made from resin, vintage fabrics and papers, and recycled silver.

See more of foundling here, and save your pennies for Indie Craft Parade!

I'll be featuring an artist from Indie Craft Parade each week until the festival is held this September.

Monday, July 5, 2010

Weekend Glimpse

My weekend was punctuated by frenzied work and bits of leisure. Hope everyone else had a marvelous 4th!

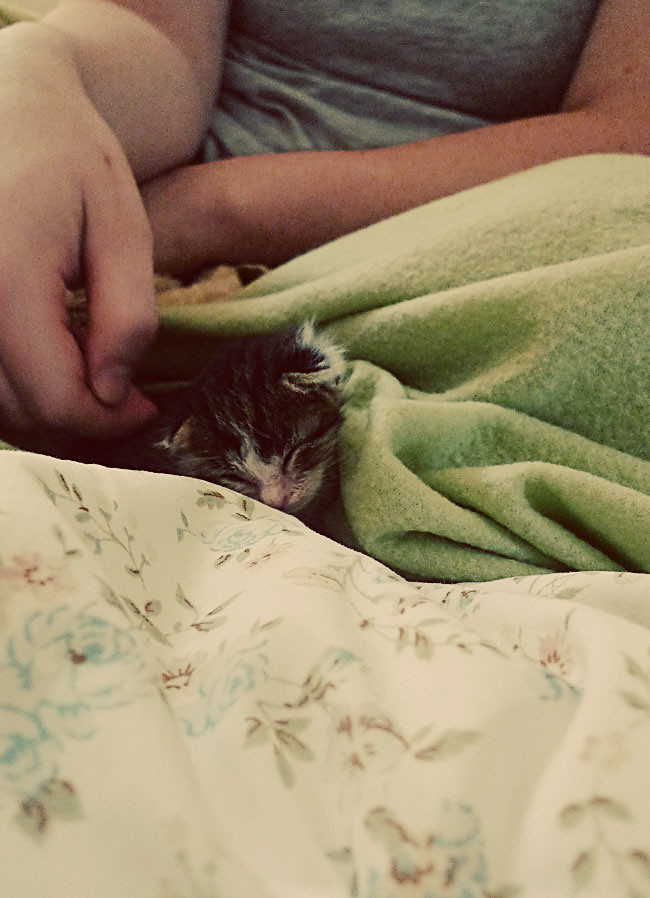
Little baby kittens, rescued and surviving.
I've gotten to help with some feedings and cuddle time, so sweet!

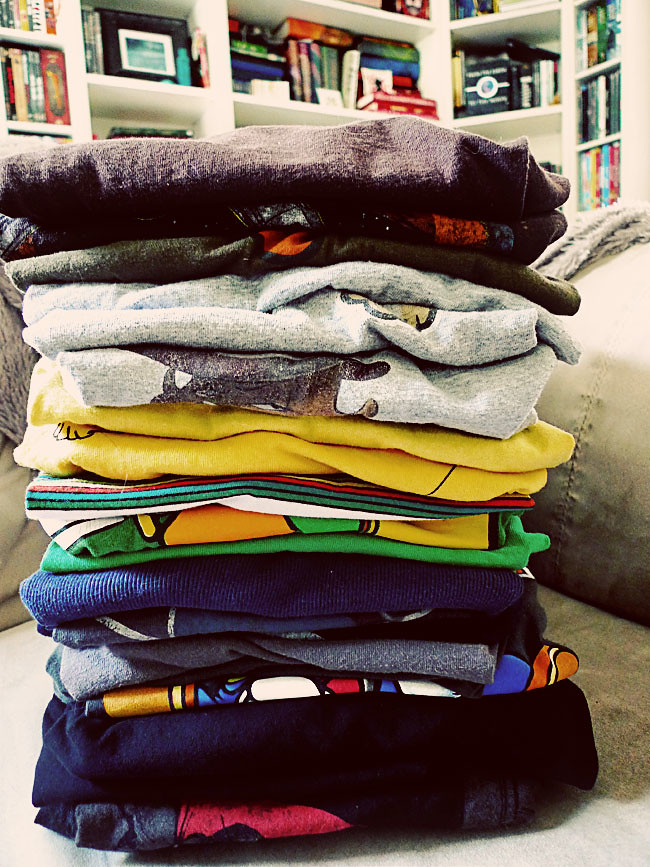
Copious amounts of laundry. 
It could have formed it's own mountain range.

A magnificent 4th of July party at Michelle's!
I made a strawberry-blackberry pie, with a flag on top.

A herd of mothers, and a lively volleyball game too.


Not pictured:
- picking more blackberries with Libby! My freezer is stocked.
- another late night of working
- reading Oh Happy Day for hours, 2 years into the archives
- little fireworks courtesy of the boys, kinda dangerous but very fun
- Cory attempting to set off a bottle rocket in his hand (nipped. in. the. bud!)

Friday, July 2, 2010

Olivia Griffin Photography

I promise I'll quit going on and on about the surprise party, but Olivia just posted some of her pictures! I am in love with every single image, but here's a few of my favorites...


 Is she talented or what! Check out Olivia's blog to see more.

Olivia was a true joy to work with, I highly recommend her. If you're in the market for wedding photography, engagement shots, family photos, etc., Olivia Griffin should be at the top of your list.

Thursday, July 1, 2010

Paper Envy


Lovely flowers, yes? They are made of paper. Paper! Can you make paper do that? I sure can't. But Livia Ceti can, and she sells them on her website, The Green Vase. Check out her many talents!

Wednesday, June 30, 2010

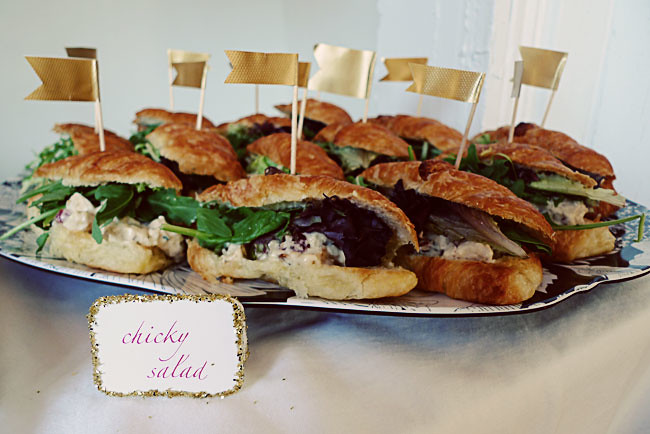
Lemon Chicky Salad

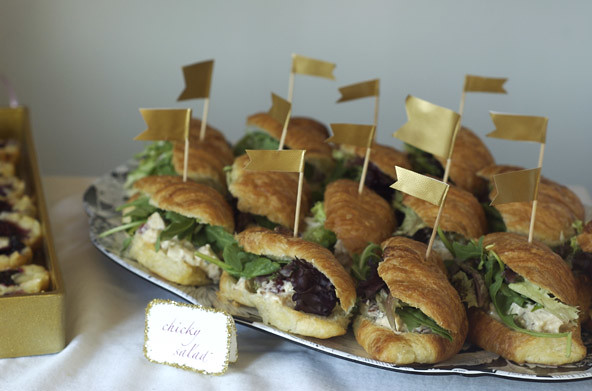
I have made this chicken salad twice in the last week, and am still not tired of it. It's a simple recipe with classy touches.

Lemon Chicky Salad

3 chicken breasts, cooked
1/2 medium onion, minced
2/3 c. dried cranberries
1/2 c. pecans, chopped
2 tsp. grated lemon rind
2 T. fresh lemon juice
2 tsp. minced lemon basil
1 c. mayonnaise (olive oil based)
salt and pepper

Shred or cube cooked chicken, set aside. Combine remaining ingredients, mix well. Add chicken, salt and pepper to taste. The lemon flavor really comes through, but is softened perfectly when paired with croissants and baby arugula.

(I used lemon basil since I have a monster bush of it in my garden, but if you can't find it, substitute 1- 1 1/2 tsp of regular basil.)

Tuesday, June 29, 2010

ICP Featured Artist: canoo

We have finally gotten to the point where we have confirmed artisans for Indie Craft Parade! The jurying is complete, all applicants have been notified, and those that were accepted are confirming their reservations.

Let me tell you, we have an amazing line-up of artisans and crafters. This event is going to kick some serious patootie! I wanted to give you a sneak peak at some of the gorgeous work you're going to see in the fall, so from now until Indie Craft Parade is held, I'll be featuring some of my personal favorites, one post a week. I could honestly post about each and every single artist, as they are fabulous, but then when would I find time to blog about chicken salad? (tomorrow)

First to be featured: canoo!

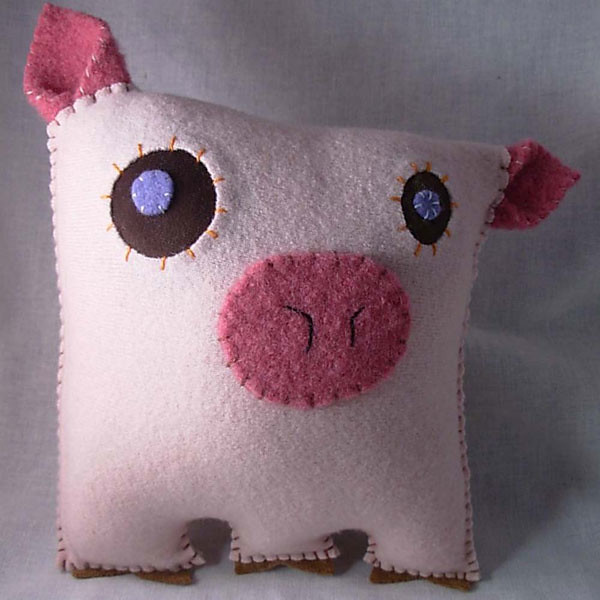
Monsters! Are you in love with them yet? canoo is run by the delightful Krista, who, according to her Etsy profile, "is a worrisome monster who, at the age of 37, still can't figure out how to put on deodorant without getting it all over her shirt." All monsters are hand-crafted from upcycled wool sweaters and other salvaged stuff. I've gotten to see her work in person, and everything is extremely well made and perfectly done.

Take a peek at her shop, and save your pennies for Indie Craft Parade!

Monday, June 28, 2010

Weekend Glimpse

What a full weekend, flowing into a full Monday. I literally sent emails for about 5 hours today.

We held the long-awaited jurying of Indie Craft Parade applications on Saturday... nearly 300 applications! I was so glad to pass off the picking and choosing to the jury, there were so many wonderful applications and just not enough room for them all. I brought my camera, and fully intended to takes some pictures, but got so wrapped up in my duties that I completely forgot until it was all over. So just pretend that there's a lovely picture of them right here, complete with a lively discussion of the merits of one applicant over another.

After a this, I went home and took a short nap, as I had basically pulled an all-nighter from before. I was awakened to the suggestion of a dip in a friend's pool, which was perfect.

Annie, Marshall, and Cory chilling in the pool.

Friday was our 4 year wedding anniversary, and Cory surprised me 
with this vase after I mentioned a longing for it.  
Too sweet!

Not pictured:
- a lovely dinner out
- Toy Story 3! Again!
- a momentary melt-down when it appeared that I may have lost all the ICP applications (I hadn't)
- Chinese food with Cory's grandparents
- trying to tactfully word emails

Friday, June 25, 2010

Oreo Truffles (and other treats too)

I've a treat for you today, a guest post by my friend Michelle! She's here to share her secret recipe for Oreo Truffles.

But first, a look at some of the other goodies from the surprise party...

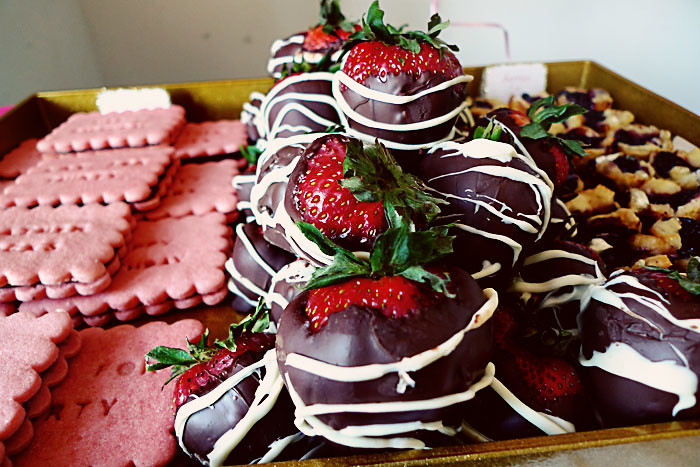
I made these sweet pink cookies using this set from Williams-Snoma. The messages said things like "Birthday Girl" "Heather Rocks" and "Yay for Thirty"... and to make them even better, I sandwiched these babies with some sour cream chocolate frosting. YUM.

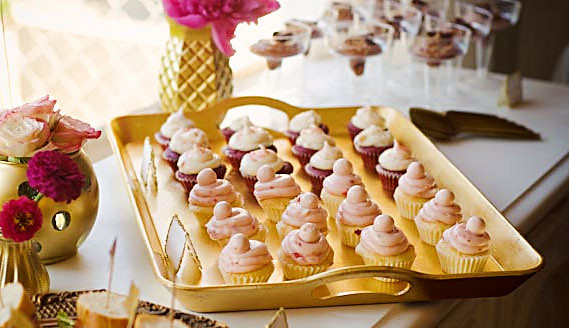
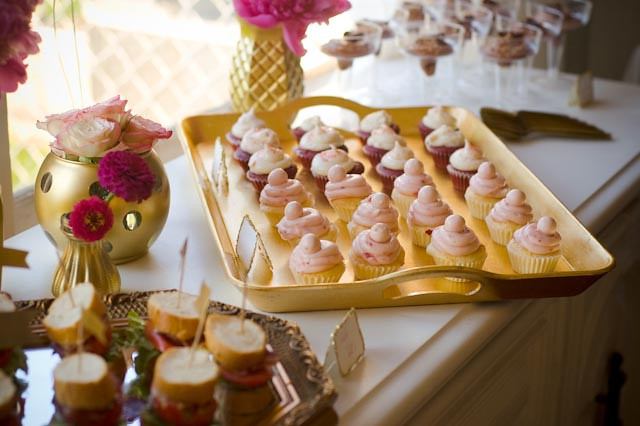
These cupcakes. Oh, these cupcakes. Let me just say that I basically never buy baked goods, I can usually make it better and cheaper myself. But I cannot make cupcakes this good. These little bites of heaven are made by FiggyWhigs, and once you taste one you will never look back. My absolute favorite variety is their Strawberries and Cream, and Red Velvet is a close runner up. Amazing how these flavors just happened to work with my color scheme!

Look at those glorious strawberries! Michelle dipped and drizzled these beauties, and we gobbled them right up. It didn't hurt that she managed to find some of the largest strawberries in the universe!

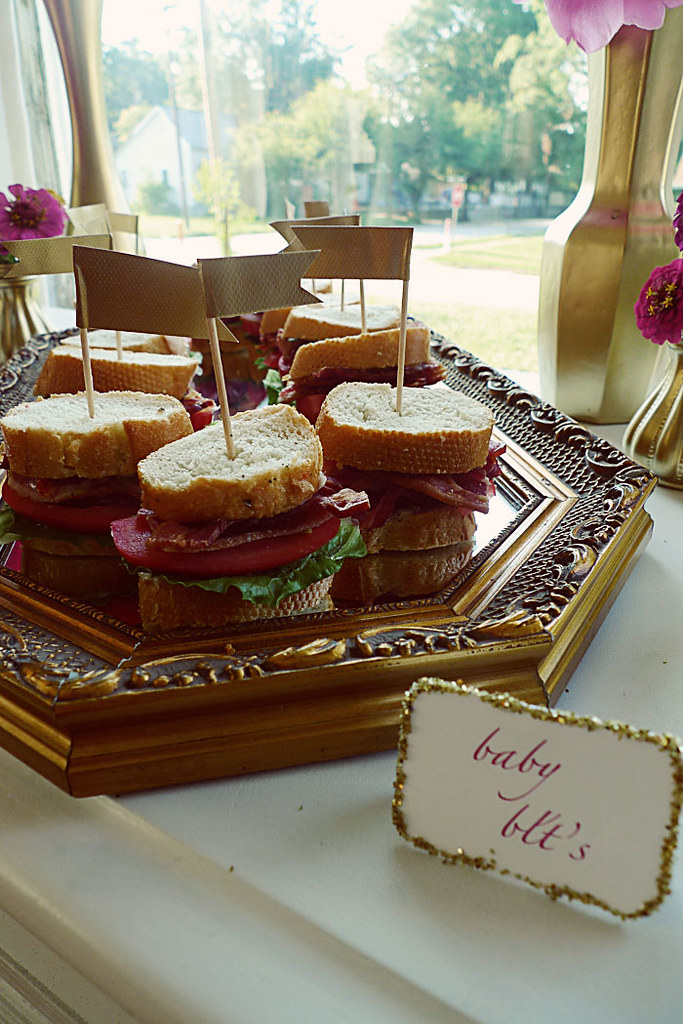
These baby BLT's were a smashing success, every single one was snatched up. Michelle put these together using baguette, roma tomatoes, romaine lettuce, thick and crispy bacon, and this amazing mayonnaise. Make it. You will not be sorry.

And now, for the reason we are gathered here... Oreo Truffles! Take it away, Michelle!

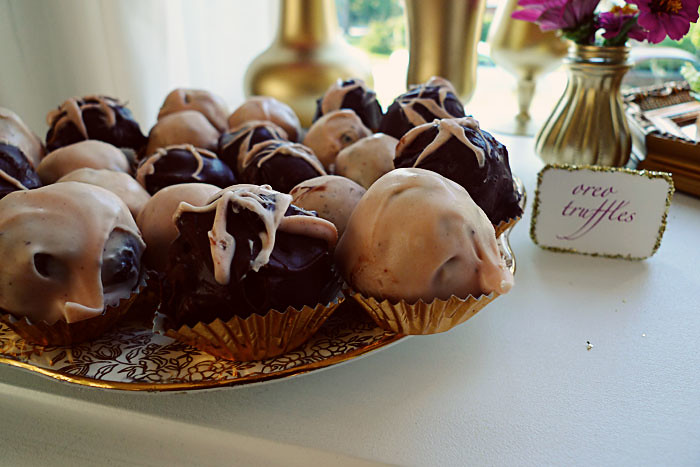
These Oreo Truffles are supposed to turn out a tad bit smaller and not the size of golf balls... the ones for the party ended up gigantic. Funny thing, no one complained!

Oreo Truffles

1 package of Oreos (not the double stuffed...even though it's tempting)
1 (8 ounce) package of cream cheese, softened
2 (8 ounce) packages of Baker's semi-sweet baking chocolate (or almond bark candy coating)

Take out 9 cookies from your pack of Oreos, crush, and set aside for later. Now it's time to crush the remaining cookies into small crumbs. You can do this by using a food processor, putting the cookies in a plastic resealable bag and crushing with a rolling pin, or (my favorite way) putting in a plastic resealable bag and pounding with a meat hammer/tenderizer until all of the cookies are squashed into fine crumb.

Place the crumbs in a medium, add the softened cream cheese, and mix until blended. Okay, here's the sticky part; you need to roll the mixture into 1 inch balls and place them on a cookie sheet lined with wax paper. Once you have rolled them all, place the cookie sheet in the freezer for 15 minutes so that they can chill.  Meanwhile, you can melt the chocolate. Use your preferred method, either on the stove top or in the microwave. If your chocolate seems too thick, you can thin it with a tablespoon of shortening.

After you have melted the chocolate, dip the chilled balls in the chocolate using a spoon or two to roll them around. (I used white chocolate with a couple of red food coloring drops for the pink Oreo truffles). Let excess chocolate drip off, then set to dry on waxed paper. If you want, you can now sprinkle them with the set aside cookie crumbs or let dry then drizzle with extra chocolate. Refrigerate until they are firm, and eat up! Erin found cute gold mini-cupcake liners to put them in, I bet you can too!

Yield: 42 one inch truffles

Thanks, Michelle! Isn't she just wonderful?

Thursday, June 24, 2010

Chocolate Mousse

I wanted to serve something rich and elegant for the surprise party, and immediately a chocolate mousse came to mind. The only difficulty I ran into is that a lot of mousse recipes contain raw eggs, which is not something my pregnant friend is supposed to consume. So I dug around until I found a suitable recipe, though of course I couldn't resist altering it a bit.


Chocolate Mousse

3/4 cup semisweet chocolate chips
3 egg yolks, lightly beaten
3 teaspoons vanilla extract
1 cup whipping cream

2 oz. softened cream cheese
3 tablespoons sugar

In a double-boiler, melt chocolate chips over simmering water; stir until smooth. Stir a small amount of hot chocolate into the egg yolks; return all to the pan, stirring constantly. Cook and stir for 2 minutes or until slightly thickened. Remove from the heat; stir in vanilla. Cool, stirring several times. 
In a mixing bowl, beat whipping cream until it begins to thicken. Add sugar; beat until soft peaks form. Beat in softened cream cheese. Fold in cooled chocolate mixture. Cover and refrigerate for at least 2 hours.

Yield: 4-6 servings 
(recipe adapted from here)

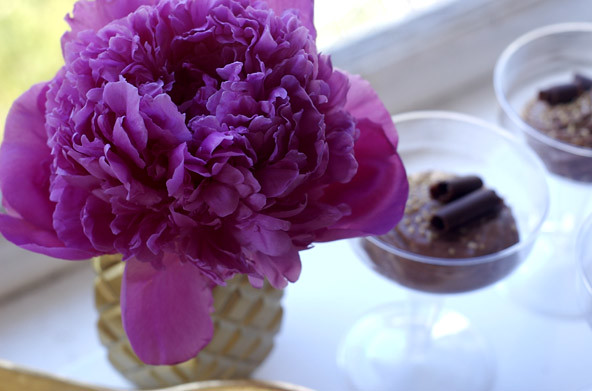
Mousse photo by Olivia Griffin

I chilled my mousse overnight, then piped it into small serving glasses. If you're doing mini-portions, as I was, it'll serve 10-12. I sprinkled the mousse with gold sanding sugar (so pretty).

I also garnished it with some chocolate curls, using Pioneer Woman's tutorial. For the most part, it was very easy, except that my chocolate seemed to soften way too quick, so I had to do a small section at a time, then re-chill the chocolate.
**************************************

Annie has posted her photos from the party! Here are a few of my favorites:

Wednesday, June 23, 2010

Berries + Brie

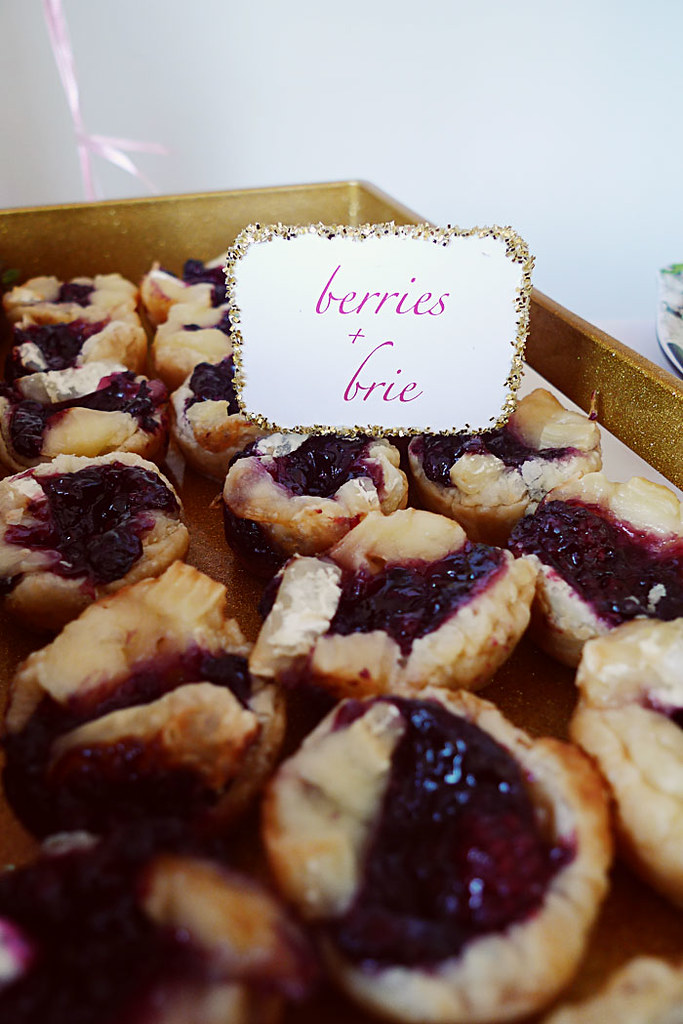
This is a tasty little appetizer I threw together for the surprise party... mini tartlets of blackberries and brie! They turned out so cute and tasty too.


Berries + Brie

1 package frozen puff pastry
6 oz. Brie
1/3 c. blackberry jam

Thaw puff pastry according to package directions. Remove one sheet, wrap up the remaining sheet and stick back in the freezer (use it to make chicken pot pie, apple dumplings, or more berry tarts!). Place the thawed puff pastry sheet on a lightly floured surface (I use parchment paper). Roll it out a bit thinner, you want it to increase in size by 30%-50%. Using a round cookie cutter, cut out circles that are large enough to use in your muffin pan (I stretched my circles slightly to get them just the right size). Place dough circles in greased muffin pan. Bake at 400 degrees for 5-7 minutes, just until pastry puffs up. Meanwhile, cut the brie into small chunks. Once the pastry is pre-baked, remove from oven. Using a spoon, gently push the pastry back into shape and form an indentation in the center. Put a few chunks of brie in the center of each pastry, top with a small dollop of jam. Bake for another 5-7 minutes, or until brie is melty and the pastry edges turn golden brown. Cool for 1 minute, then run a sharp knife around the edge of each tartlet. Remove from pan, cool on a wire rack. Serve warm if possible.
Yield: makes 2 dozen (mini-muffin pan) or 1 dozen (regular muffin pan)


- Use whatever kind of jam you want! I actually made a compote using fresh wild blackberries, but this would be great with raspberry, peach, apricot... or throw in some pecans and drizzle with honey!

- I wasn't able to serve them warm, and they still tasted great.

**************************************

The marvelous Mollie Greene has posted her lovely pictures from the party! Check them out here.

These are a few of my favorites:


Tuesday, June 22, 2010

Surprise Party

One of my very best friends is turning 30. Her name is Heather, she's wonderful, and she's also beautifully pregnant. I wanted her birthday to be special and to celebrate her, so I planned a little surprise party for her and just our close friends.

The party color theme was pink and gold, and everything from the decor to the food to the invitations coordinated. I held the party at a local art gallery, White Whale... it was the perfect setting for a night of girly fun!

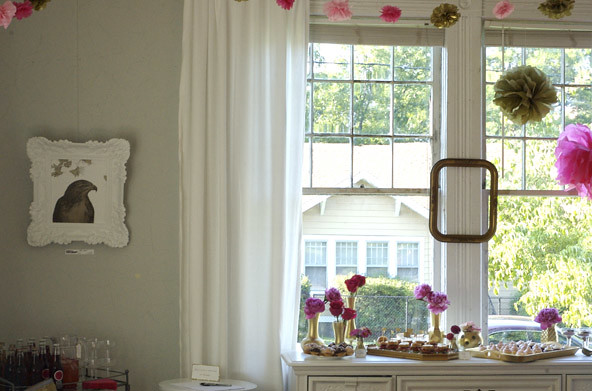
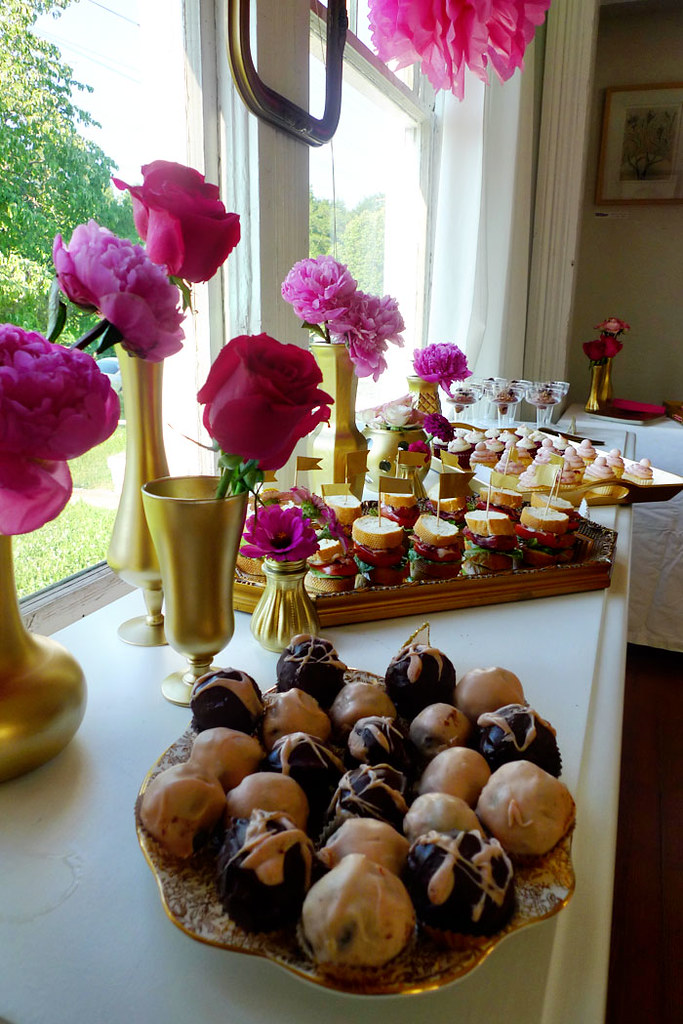
The marvelous flowers were arranged by Annie, of course. Here's some of the food (recipes to come)... I used some vintage china, gold trays, and an antique gold mirror to display it.

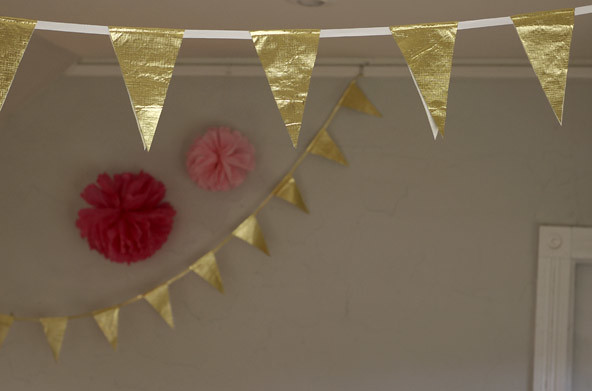
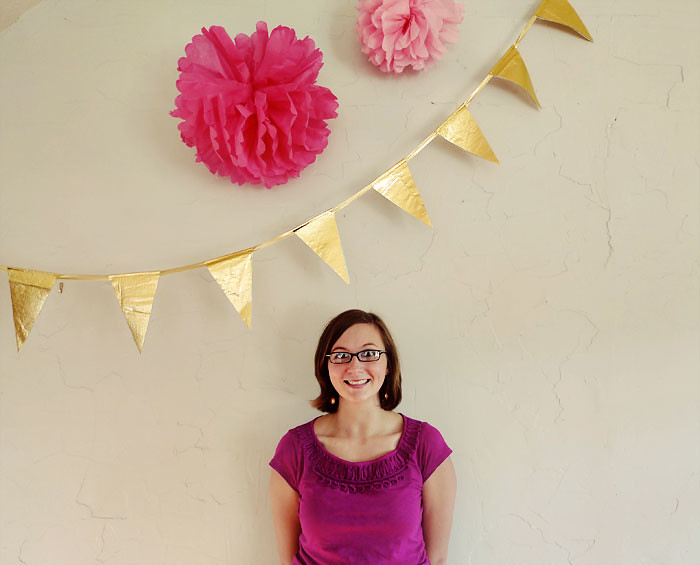
Here's the gold pendant garland that Annie and I made, along with some large tissue poufs and a small pouf garland. The beverages played along with the color theme: IBC cream soda (gold), Pomegranate Izze (bright pink), and Sparkling Strawberry Punch (light pink).


See those expensive looking gold vases? I spent $4 at a thrift store, brought them home, cleaned them up, gave them a few coats of metallic gold spray paint, and voila!

 Here's my lovely co-host, Michelle. I couldn't have put this all together without her... she helped with the decorations, the food, and keeping me calm. She deserves her own party.

The wall you see above was our photo wall... I hired a photographer, Olivia Griffin, to come and do a photo shoot with us, and we used this area as the backdrop. Olivia is as sweet as she is talented, and I can't wait to see her images! I'll be sure to share them with you all.

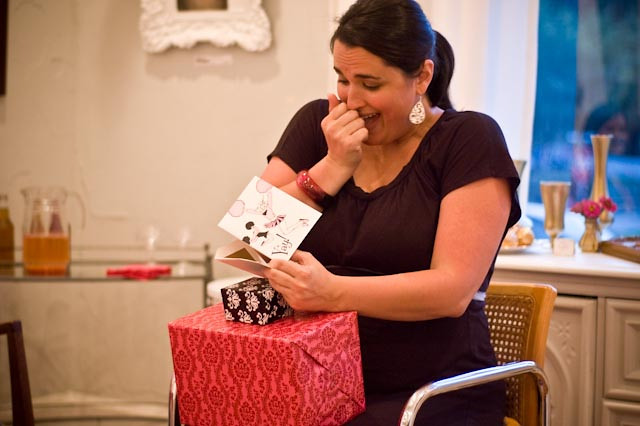
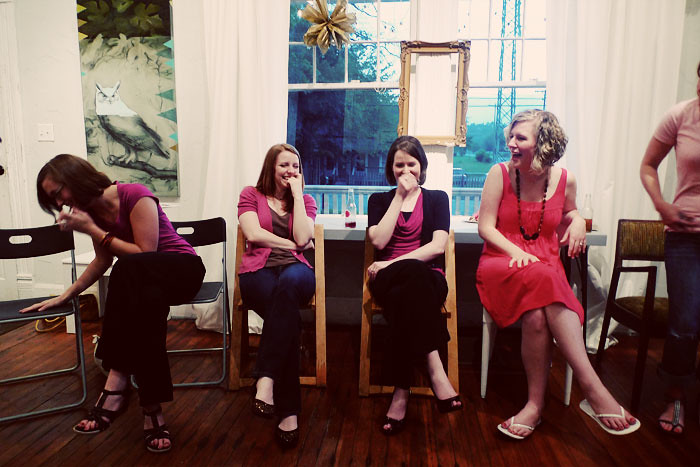
Here's the guest of honor recovering from the surprise. We all shouted "surprise!" when she walked through the door, and she stood there looking blankly at us... "Surprise what?" she said. I reminded her that it was her birthday. "Oh yeah!"

Heather and her sister Kelly, playing around with the chalkboard.

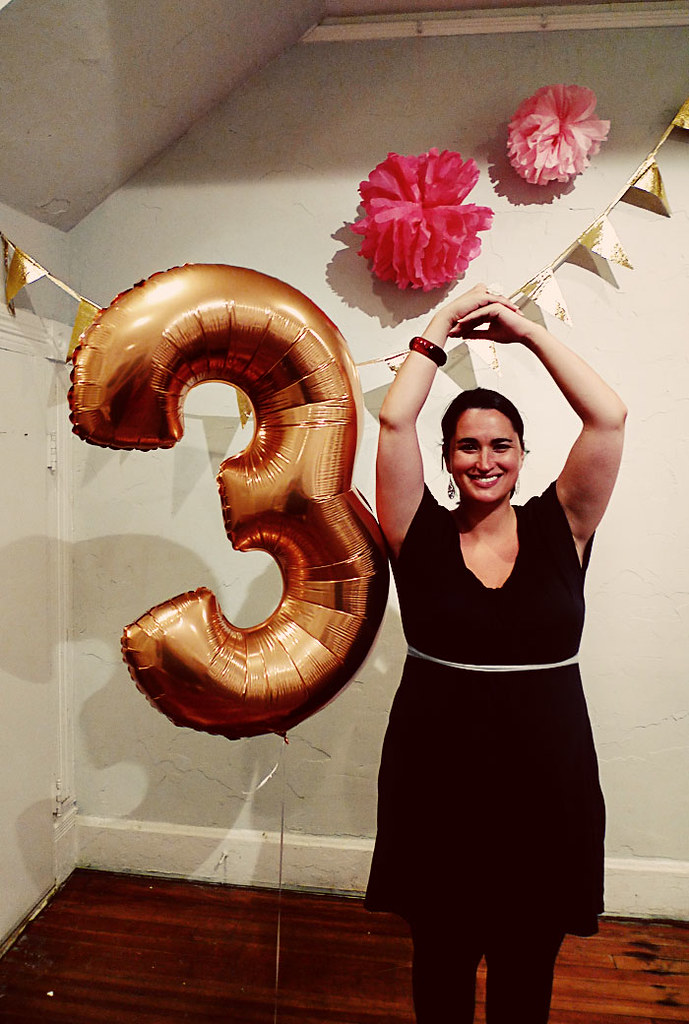
Sad story here. You'll recall she is turning 30, not 3.

I ordered these gorgeous balloons off eBay weeks ago, and planned the entire party around them. How cute for decor, how sweet they'd look in photos... but it was not meant to be. I had the balloons filled at my local grocery store, an esteemed, high-quality business that shall remain nameless so that I don't get sued for libel. I got the balloons home just fine. I got them back in the car and to the party location just fine. I bring the 3 inside. I go to get the 0, and am walking up to the door, clutching tightly to the string when all of a sudden the balloon slips off the string and is gone before I realize it. I look up just in time to see it hit the power lines as the string softly falls to the ground. I stood there in disbelief. I wanted to cry but I didn't have time. I wanted to do terrible things to the girl at the grocery store who did not know how to tie a knot, but I didn't have time for that either and I didn't want to go to jail.

HOW HARD IS IT TO TIE A KNOT?????? Isn't this a basic life skill that people learn when they are toddlers???

I have dealt with this. It didn't ruin the party. (My mother tells me it probably happened because I was proud... and she is probably right... but it was an awesome party!)

The worst part was walking in, dragging the empty string, and seeing that 3 waiting so expectantly. I didn't have the heart to tell it what happened.


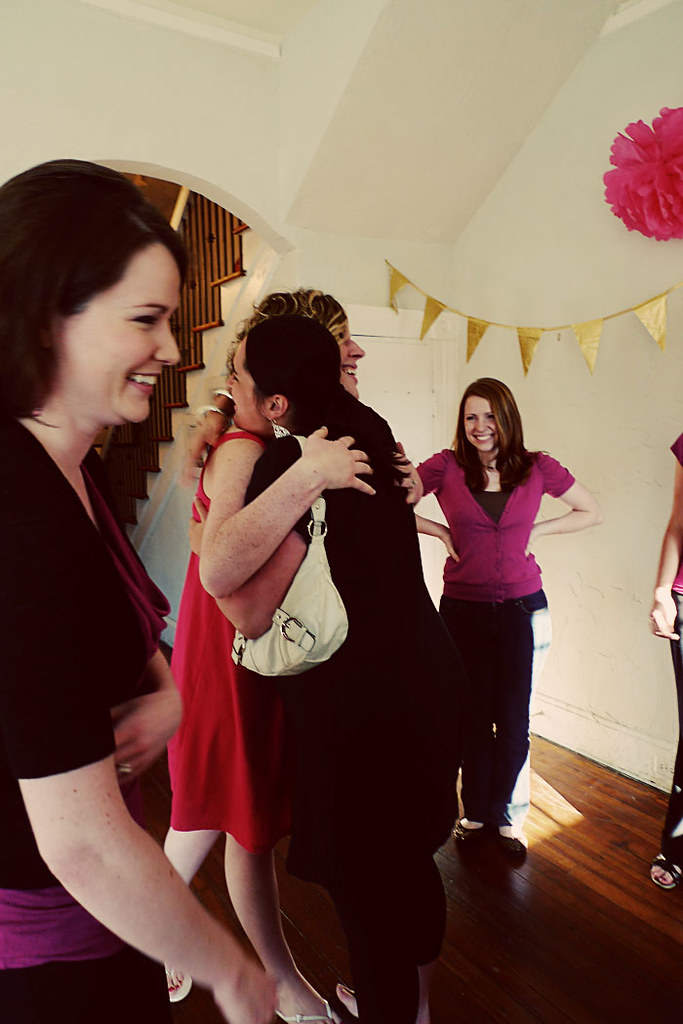
A good time was had by all.

Stay tuned for some killer recipes this week!